Reducing individual spot colors in final output
CAUTION: Reduce spot colors during refine whenever possible. Color conversion
is more predictable during refine than during other processes.
1. Switch to the
Signatures
view, and select the surfaces or signatures
that you want to use for final output.
2. Reduce individual spot colors from the final output using the Color
Separations dialog box:
a. From the
Edit
menu, select
Color Separations
.
The Color Separations dialog box appears.
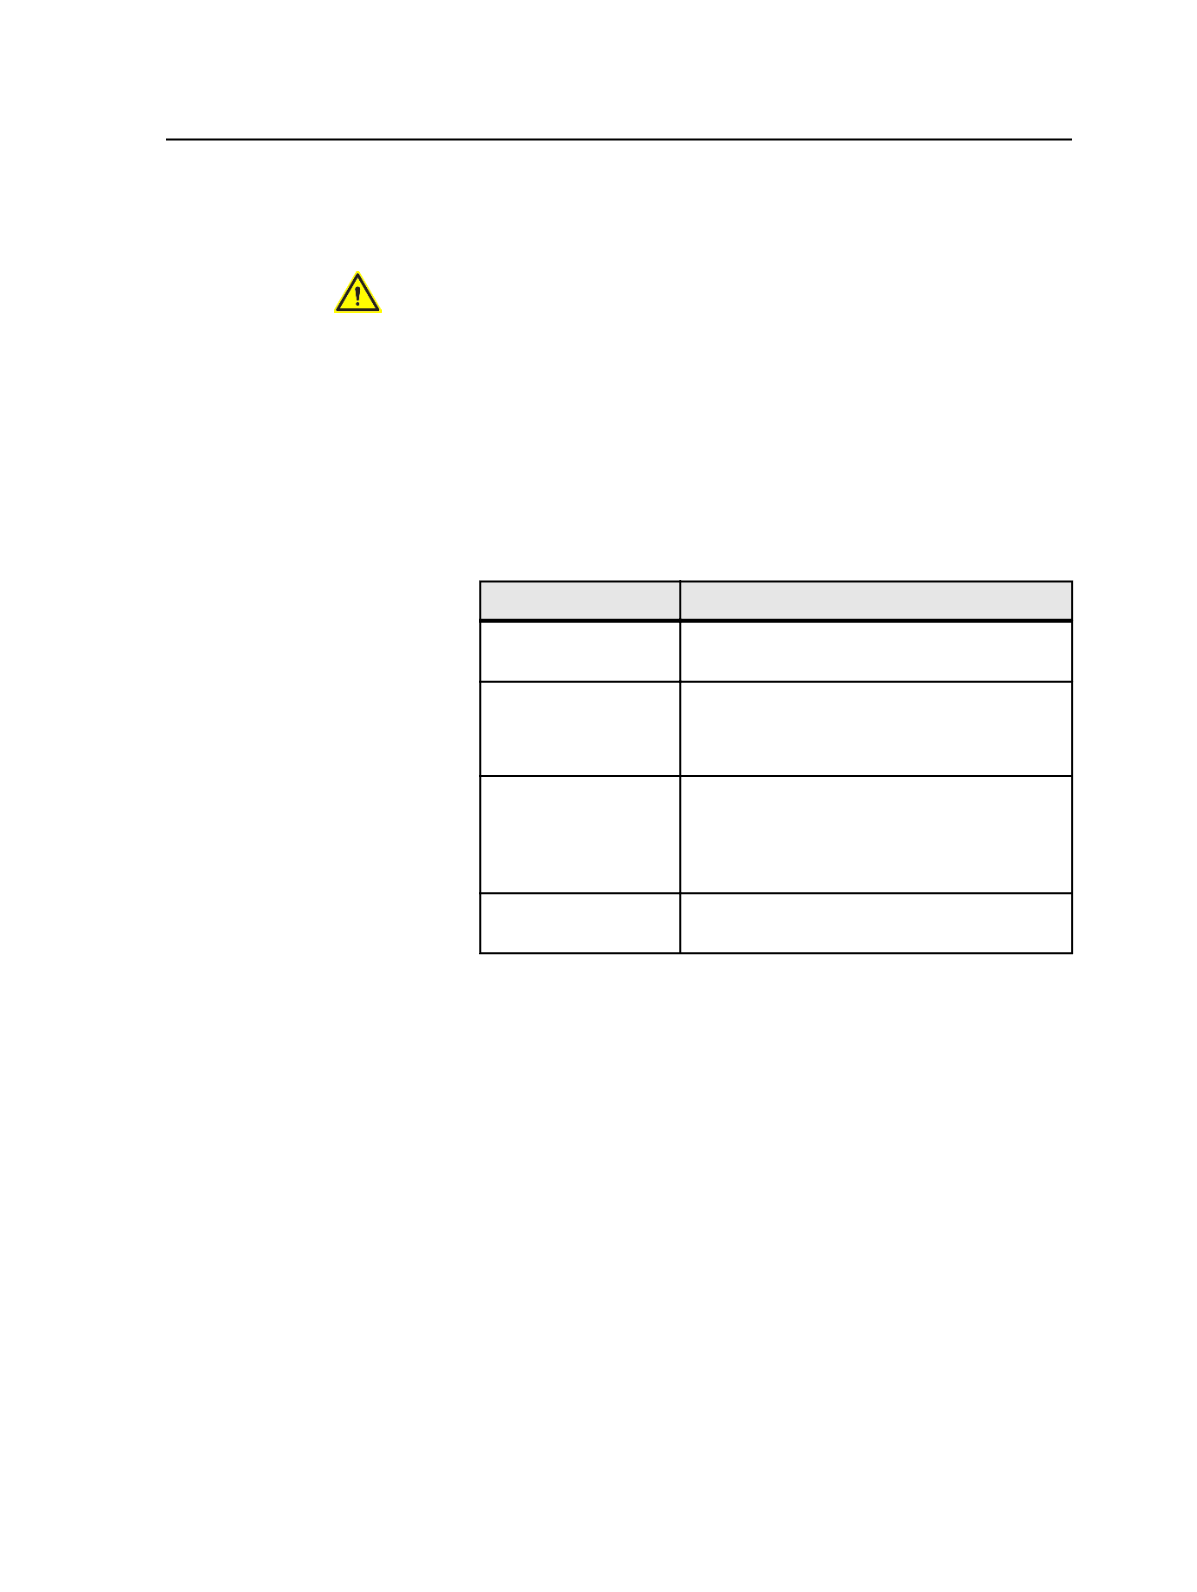
b. Select the spot color and then select an option in the
Output
Selected As
list:
To Do This
Select This
Convert a spot color to
process color
Either
Convert to Process
or a process color
Map a spot color to
another color
A spot or process color
(If the color doesn't already exist, first add a
color separation.)
Preserve a color
Separately
(The separation is output separately only if the
Do Separations
check box is selected in the
Render
section of the process template.)
Omit the color from
final output
Do Not Output
c. Click
OK
.
3. Start a final output process on the selected surfaces or signatures
by dragging the surfaces or signatures to the imposition output
process template.
4. Preserve any other spot colors by clearing an option in the process
template:
a. In the Start Process dialog box, click
Edit Process Template
.
b. Expand either the
Render
section or the
ColorConvert
section.
c. In the
Color Libraries
area, clear the
Always Use Color
Combiner to Convert Spots
check box.
d. Close the process template.
5. Click
OK
to close the Start Process dialog box.
The final output process occurs, applying the settings of both the
final output proof process template and the Color Separations
dialog box. The bitmaps are generated.
Reducing individual spot colors in final output
825


