Setting die line and varnish colors
1. (Optional) Add a color for the die line or varnish to the
Global
tab
of the Color Editor with a name such as Die or Varn.
a. Set the
Opacity
of a die line color to
die line
.
b. Set the
Opacity
of a varnish color to
Transparent
.
This step is optional because you can also add the color while you
refine in Step 4.
2. Refine the pages where you want to use the die line or varnish by
starting a refine process template on the pages.
3. In the Start Process dialog box, click
Color Mapping
.
4. In the Color Mappings dialog box, perform one of the following
actions:
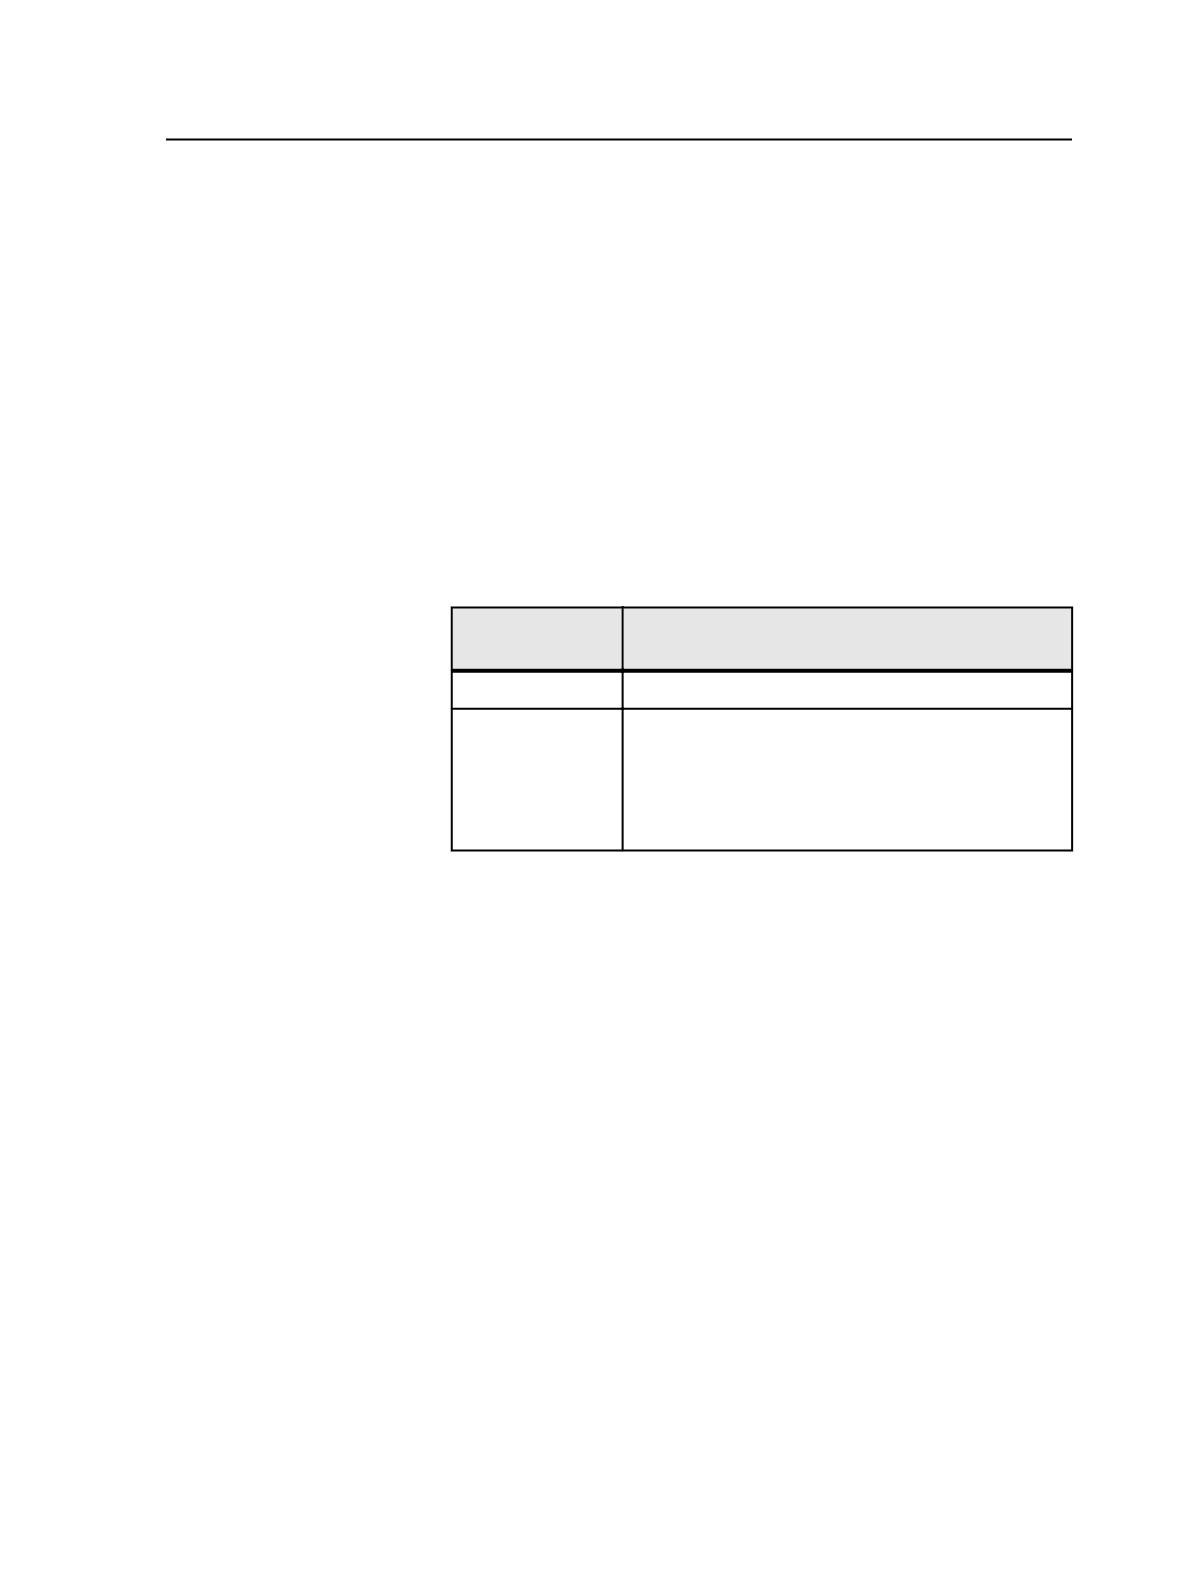
If the Die or Varn
Color
Do This
Is listed as a color Use the color as a die line or varnish.
Is not listed as a
color
a. Add a color for the die line or varnish to the
Global
tab of the Color Editor with a name such as Die or
Varn.
b. Set the
Opacity
of a die line color to
die line
.
c. Set the
Opacity
of a varnish color to
Transparent
.
Using ColorFlow software
The ColorFlow 1.2 software is integrated with Prinergy.
The ColorFlow software delivers color relationship management that
unifies color control elements—such as ICC profiles, DeviceLink
profiles, and calibration curves—and manages the relationships
between color control elements and device print conditions.
Specifically, ColorFlow simplifies the process of setting up color and
ensuring that Prinergy jobs are processed using the correct color
settings.
Setting die line and varnish colors
831


