Options
Setting
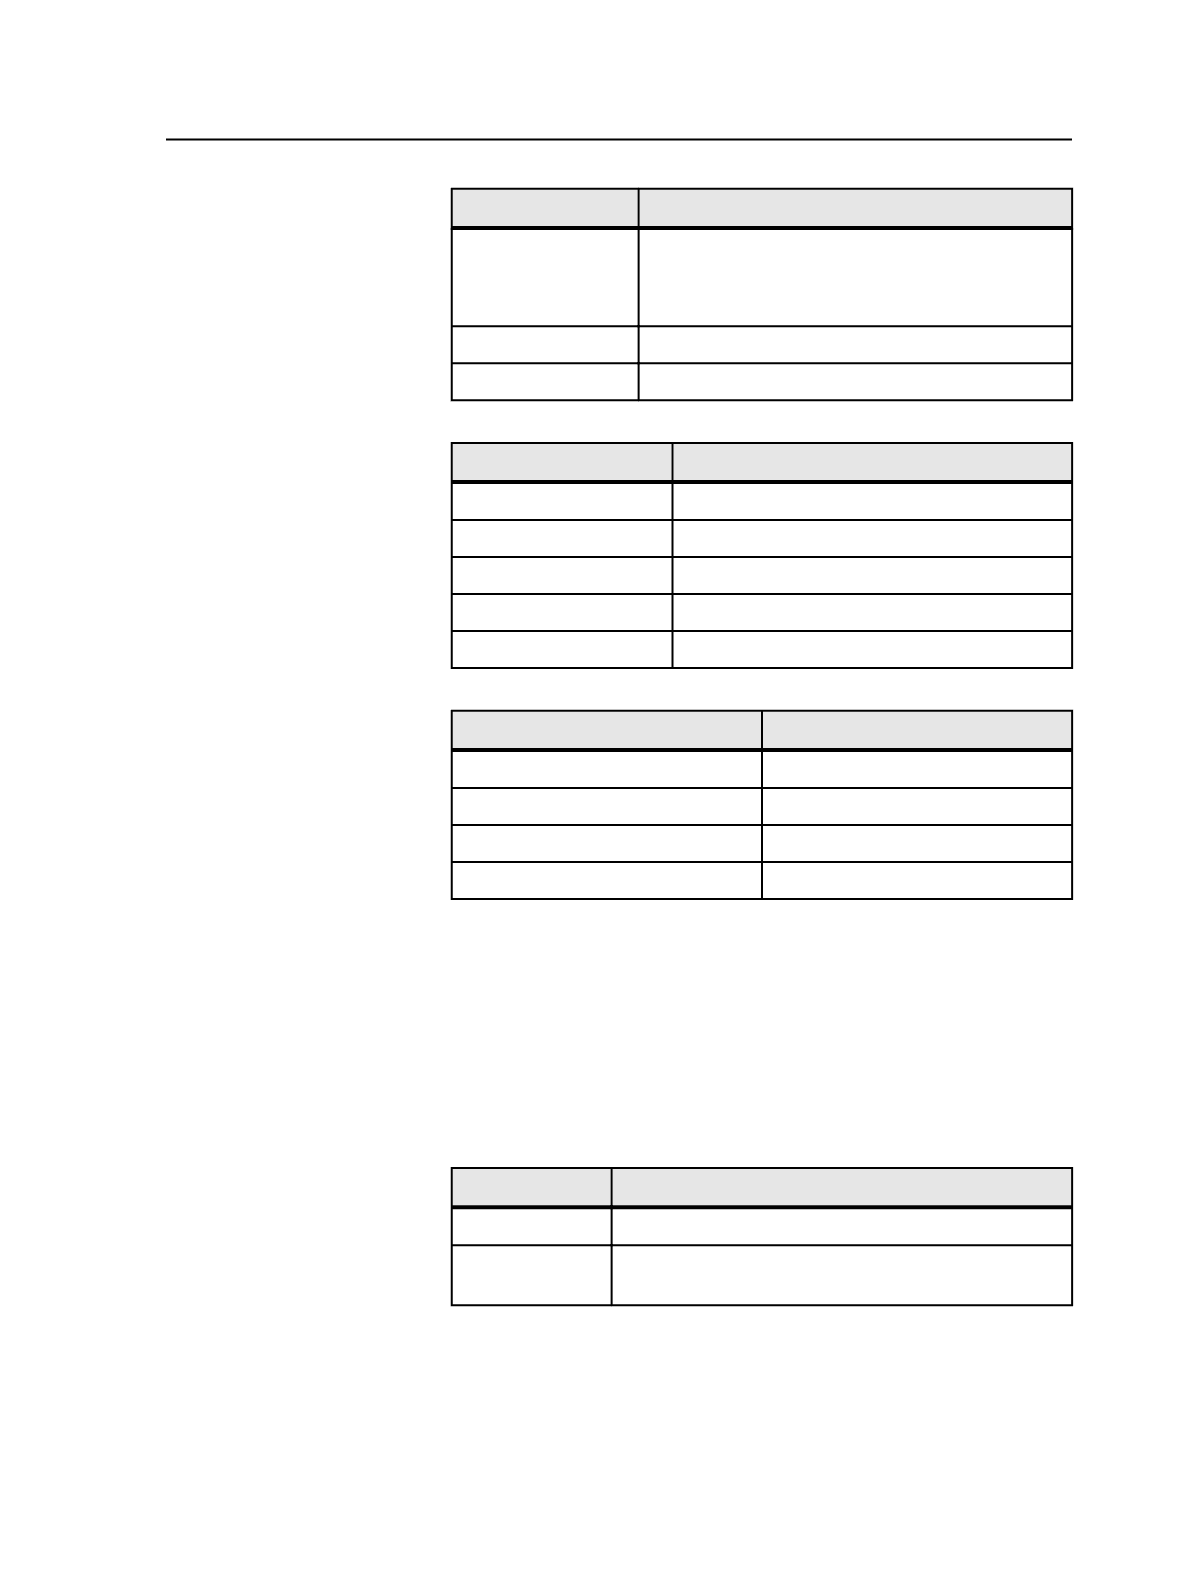
Orientation
Select
90°
.
Note: This option specifies the image placement in
the TIFF file.
Center Along Width
Select the check box.
Center Along Height
Select the check box.
4. In the
Render
section, set the following options:
Options
Setting
JTP
Select a TIFF output pool (for example,
Proof
).
Resolution X
and
Y
Type
2400
.
Color Model
Select
DeviceGray
.
Shades
Select
1
.
Spot Color Handling
Select
Convert to process
.
5. In the
Calibration & Screening
section, set the following options:
Options
Setting
Calibration Curve
Select
%%NONE%%
.
Screen Ruling
Select
175
.
at Angle
Select
45
.
Rotate Screens With Pages
Select the check box.
Note: The system screens all separations at the same angle, and it always
uses Euclidean dot shape. As a result, you don't need to select a screen
system from the
Screen System
box or a dot shape from the
Dot Shape
box.
Prinergy sets the screen ruling to 175 lpi and screen angle to 45, regardless of
how you set the
Screen Ruling
and
at Angle
options.
6. In the
Processed File Options
section, clear the
Overwrite Existing
Files with Same Name
check box.
7. In the
File Format
section, in the
Compression
list, select
RLE
.
8. In the
Device
section, set the following options:
Options
Setting
Output Type
Select
Absolute File or Printer
.
Device Path
Specify the path to the thermal blueline hot folder for
Print Console.
9. From the
File
menu, select
Save As
, and then name and save the
process template.
You are now ready to start an output process, using this process
template, to create a thermal blueline.
Special output
757


