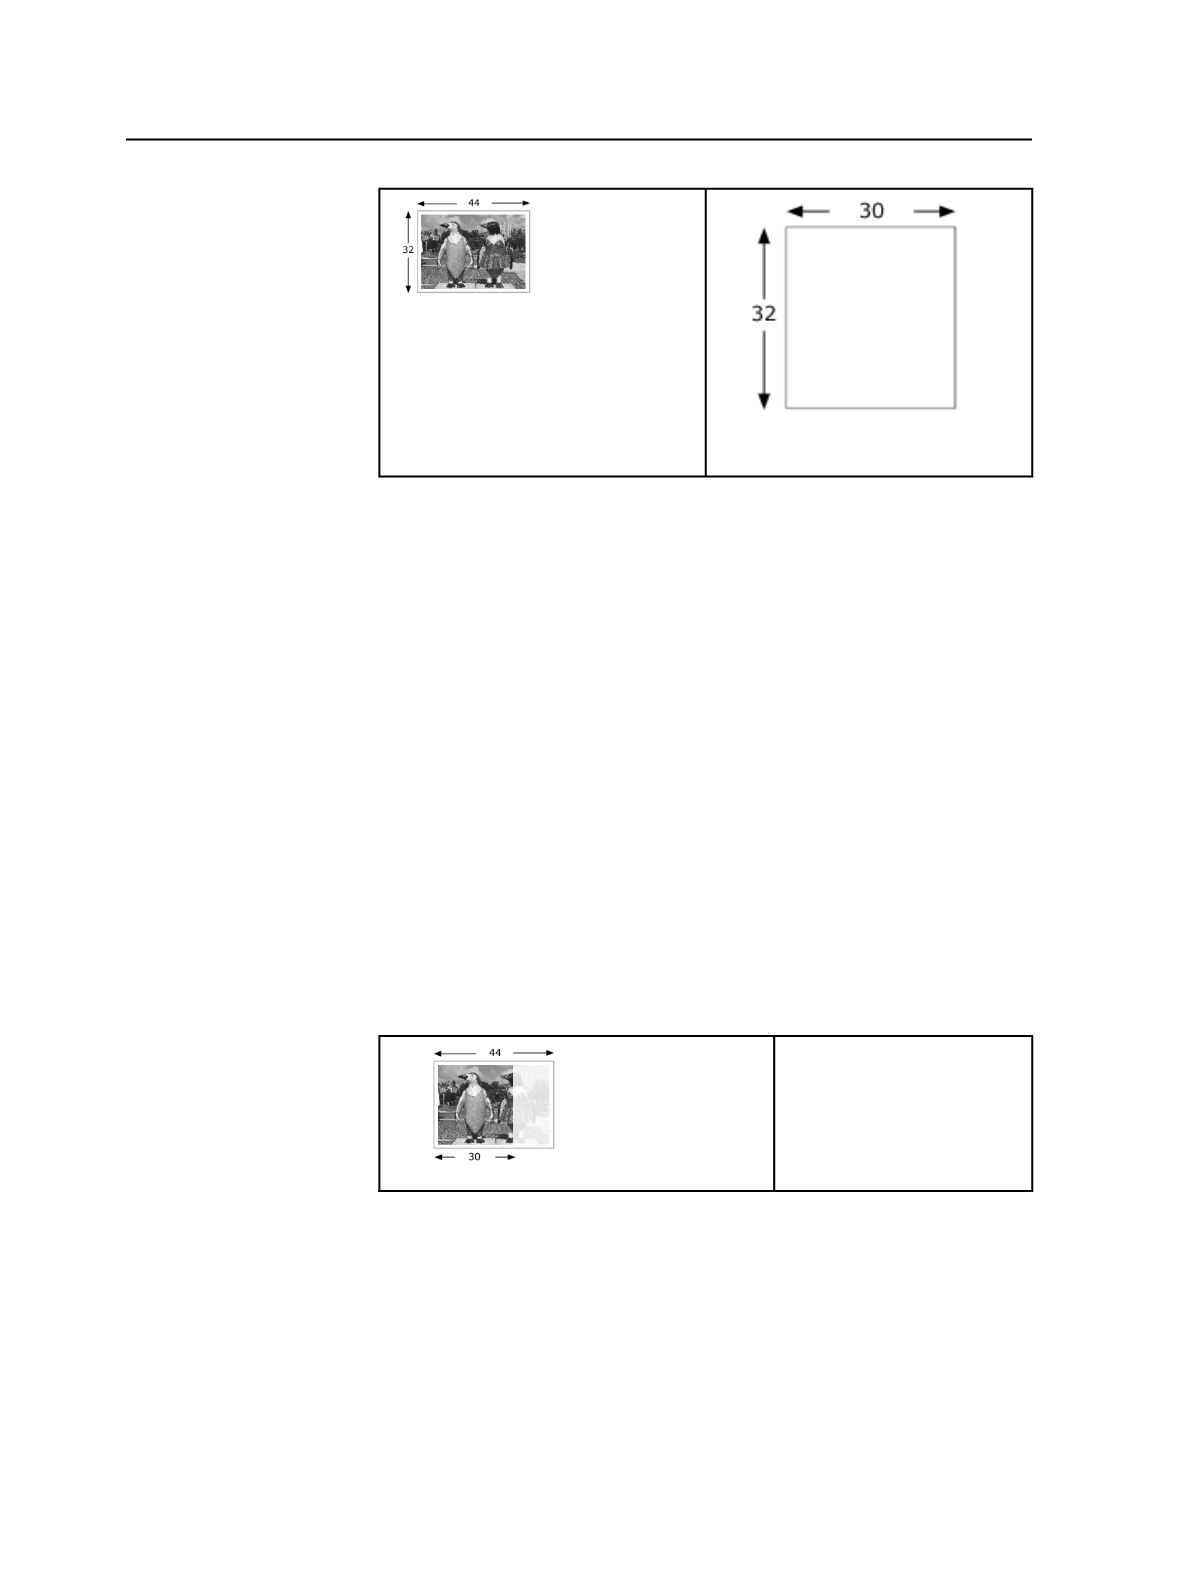
image size
proof size
In this case, two tiles are needed. To create the tiles create two
imposition output process templates, one for each tile. In the process
templates for both tiles, enter the following settings.
In the
Layout
section, under
Media
:
●
Set
Size
to
Cut Sheet
.
●
Enter the
Max Width
and
Max Height
values. (In our example, this
would be 30 inches and 32 inches.)
In the
Layout
section, under
Placement
, ensure that the
Center Along
Width
and
Center Along Height
check boxes are cleared.
For Tile 1, save the process template and output the tile. A tile output
with a process template with these settings will automatically be
clipped on the right because of the media size. See Tile 1, below.
For Tile 2, enter the same settings in the process template. In addition,
enter an appropriate amount of offset in the
Shift Along Width
box (in
the
Layout
section, under
Placement
). The
Shift Along Width
value
should not be greater than the width of the media because you want
some overlap so you can match the tiles. See Tile 2, below.
Tile 1
The image is automatically be
clipped on the right because
of the size of the proofer
media size (30 in.).
656
Chapter 12—Outputs


