5. Choose where to put the PPF files:
Location
Do This
Inside the job
folder
a. Click
Browse
and select a location inside a job.
The
Put Files in Directory
box lists an absolute file
path.
b. Select
Job-Relative File
.
This converts the absolute file path to a job-relative
path.
Outside the
job folder
Click
Browse
and select the location.
The
Put Files in Directory
box lists the file path.
Important: Ensure that the directory you select has enough space to receive
the PPF files generated by PrintLink.
6. (Optional) Select the
Use JDF Name
check box to preserve the
names of the sheet, the imposition, and the signature from the JDF.
These names will be used in the PPF.
7. (Optional) Customize the tags in the PrintLink configuration file,
click
Browse
next to
Press Interface Configuration File
, and locate
the PrintLink configuration file (named
PrintLinkConfig.txt
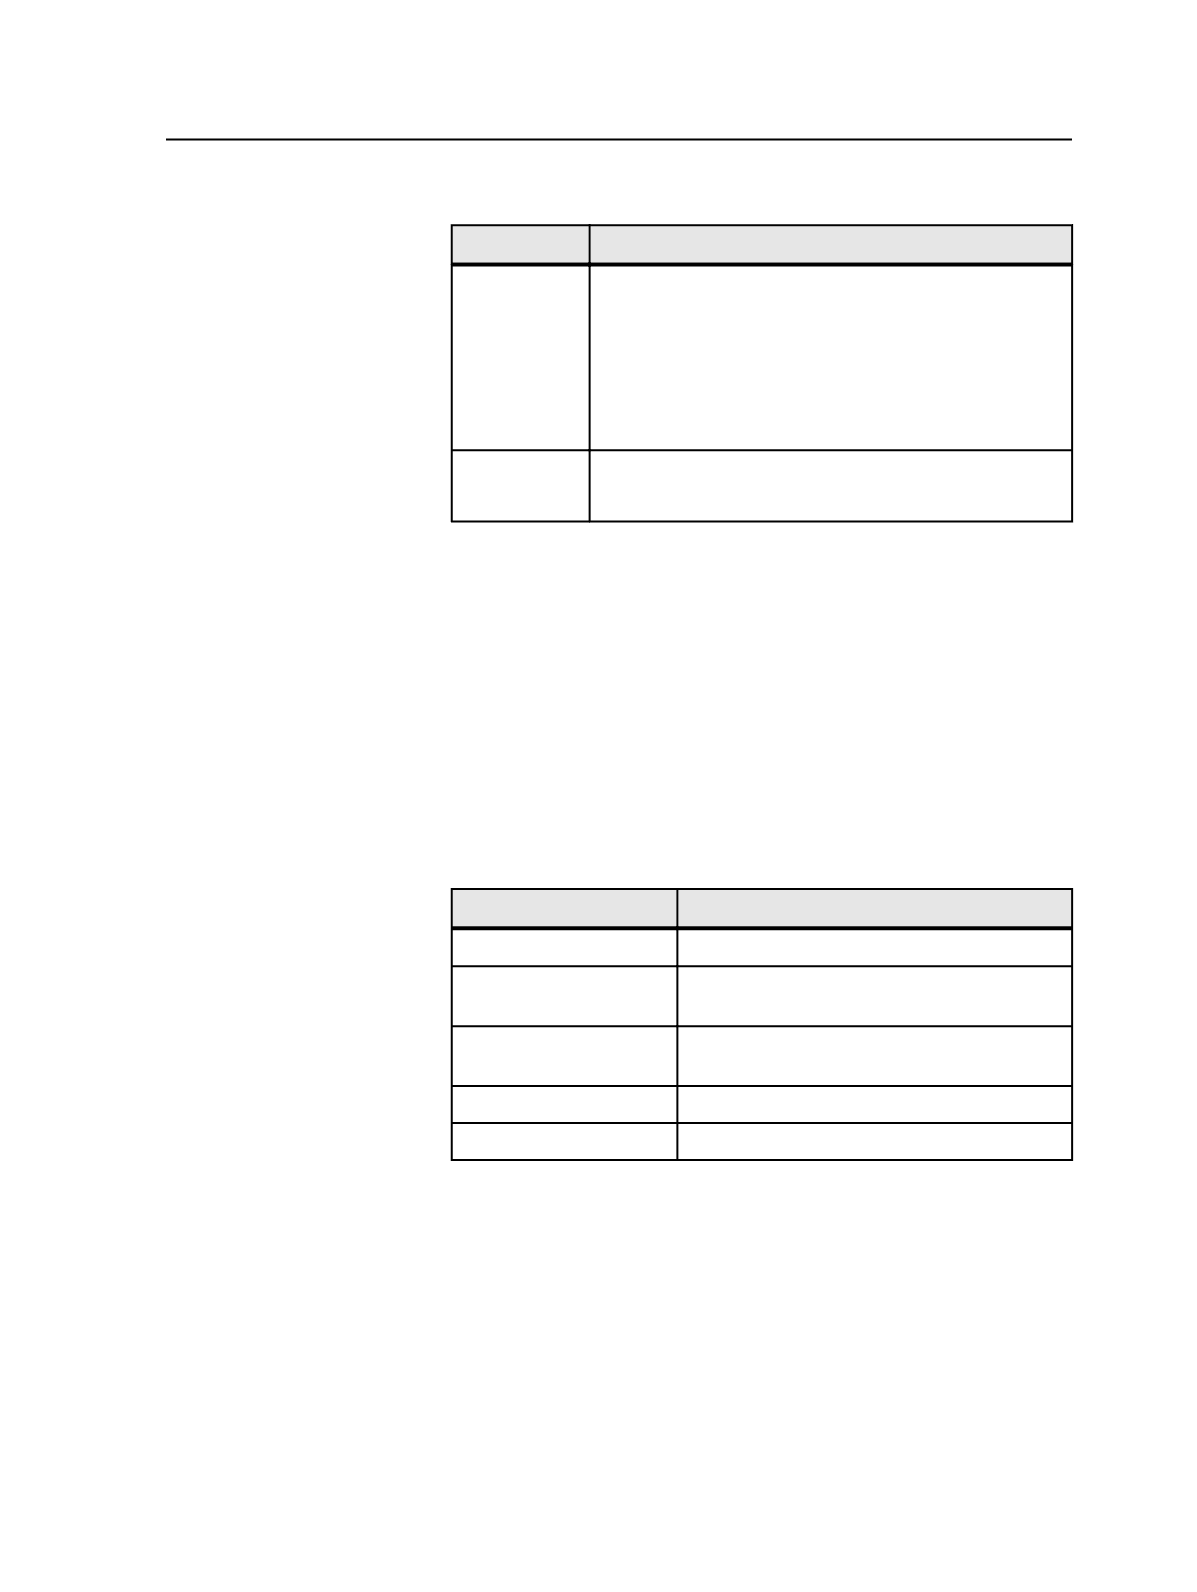
8. In the
Press Interface
box, select a press interface in the list.
The active tags in the PrintLink configuration file override the
defaults of the selected press interface. Note the number of
divisions for the following manual
Press Interface
options:
Press Interface Option Number of Divisions
Manual
100 divisions (0 to 99)
ManualHeidelberg
16 divisions, each with 16 subdivisions (0 to 16 :
0 to 15)
ManualHeidelberg1
24 divisions, each with 20 subdivisions (0 to
23 : 0 to 19)
ManualManroland
254 divisions (0 to 253)
ManualManRoland1
24 divisions (0 to 23)
9. Configure other PrintLink parameters as required.
10. Save the final output process template.
PrintLink
745


